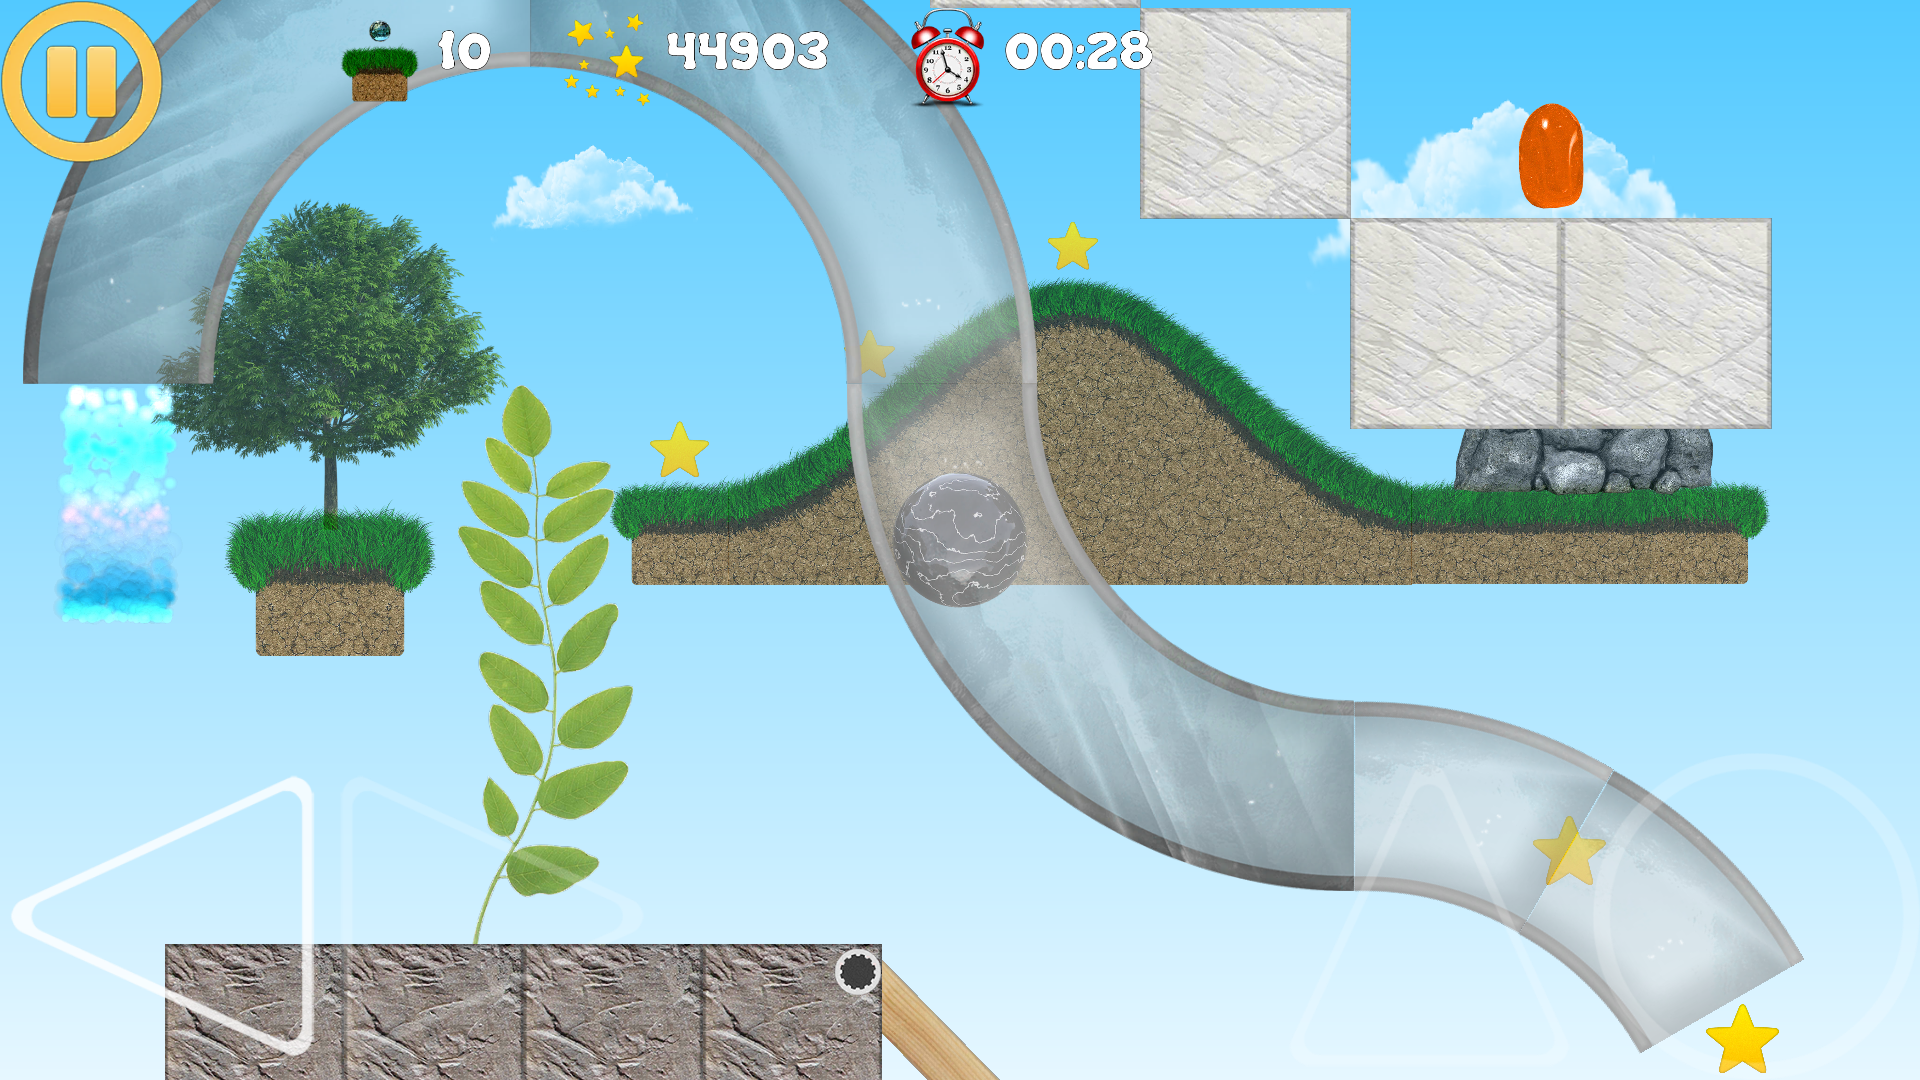
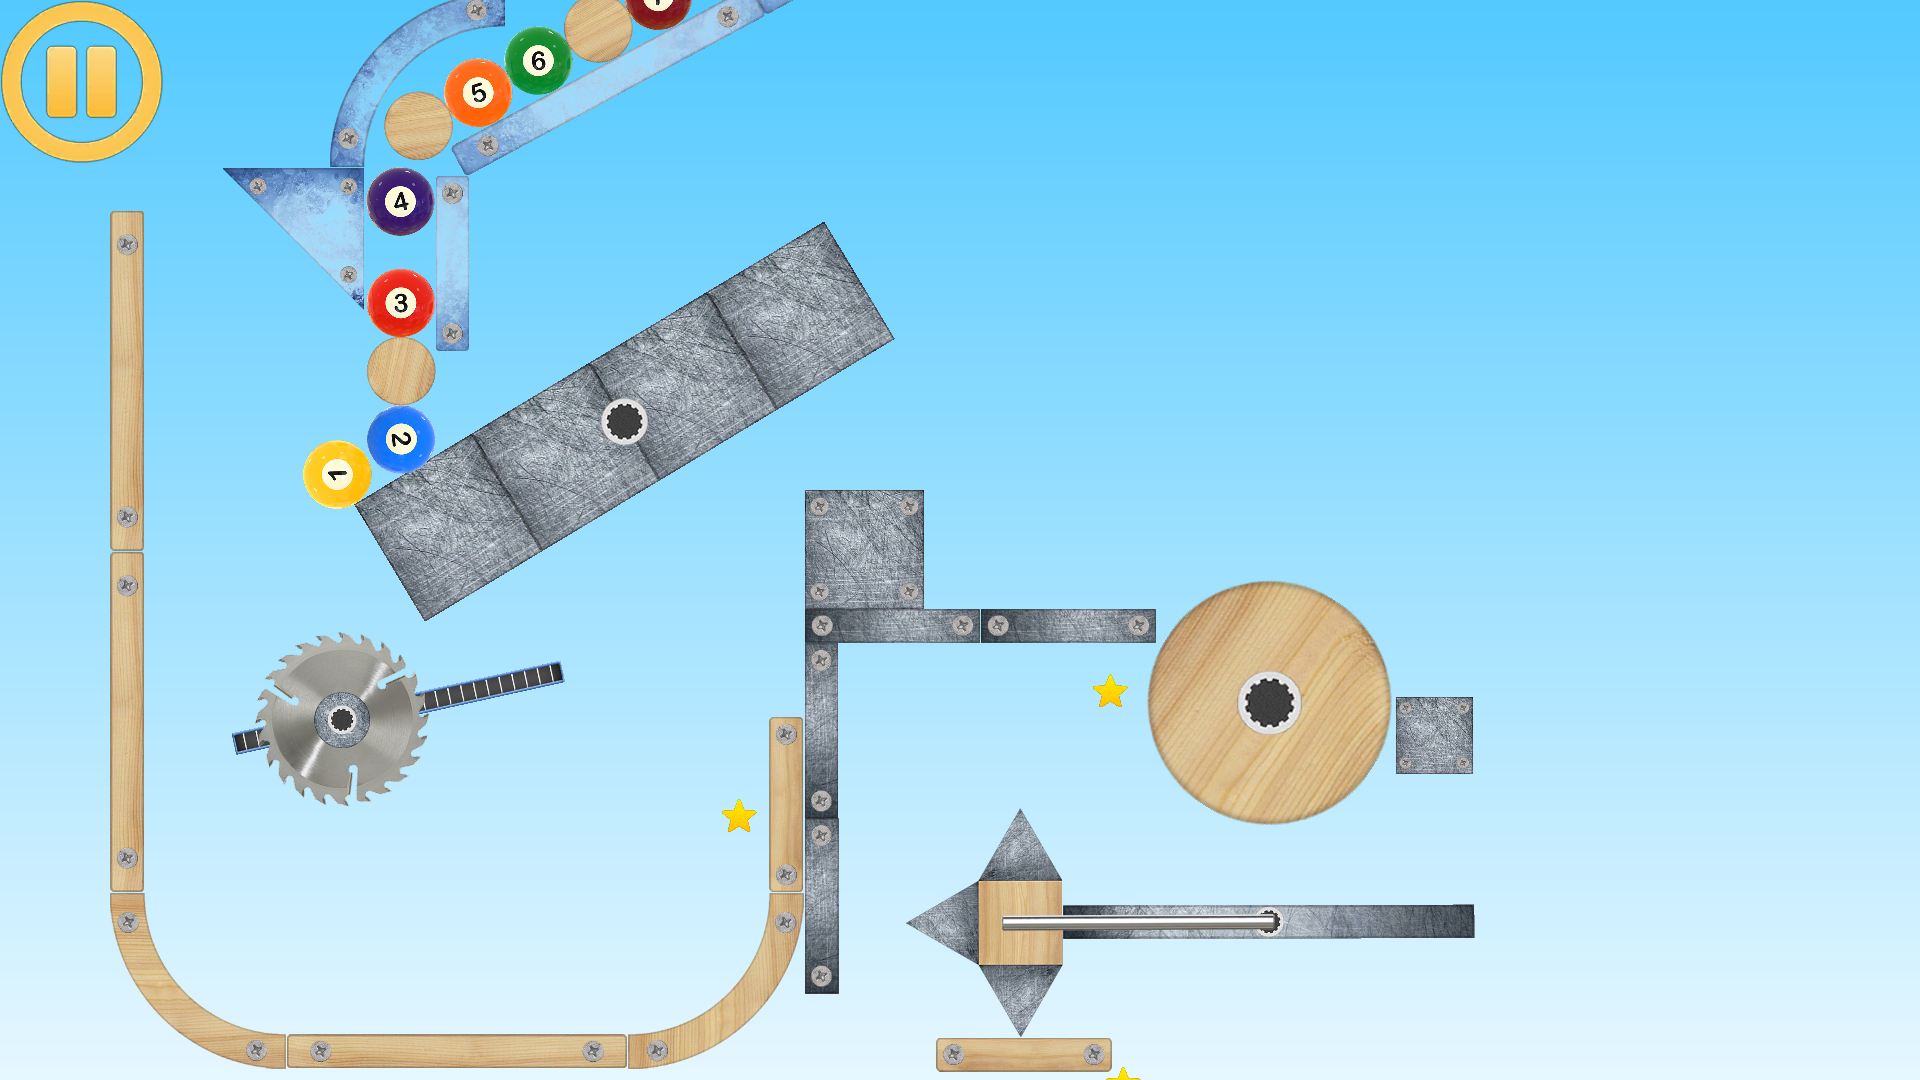
1. Place Objects
Add physical objects, scene objects, collectibles, hazards, platforms, triggers, particle fields, or drawn physics lines.
Complete help
Start with the puzzle modes and core editor controls, then explore characters, vehicles, drawings, particles, scene layers, chip logic and detailed object settings.
Start here
The editor flow is simple at the top level: place objects, tune how they behave, connect systems, then play and refine.
Add physical objects, scene objects, collectibles, hazards, platforms, triggers, particle fields, or drawn physics lines.
Use object settings for body type, density, friction, restitution, sensors, scale, rotation rules, and collision precision.
Use game settings for targets, goals, collecting, damage, creation timing, interaction, character controls, and trigger behavior.
Add joints, motors, advanced paths, groups, physics lines, one-way platforms, or systems that move objects over time.
Use trigger zones and chips to turn contacts, timers, motor limits, object values, and events into changes elsewhere in the level.
Switch into play mode, watch the machine run, then return to create mode and adjust the exact object or system that needs work.
Level type walkthrough
The level type changes the solve-mode contract: whether the player builds a machine, interacts with a prepared scene, or controls a platform character.
The player starts in create mode and assembles a solution machine from the available objects. This mode is about choosing the right parts, positioning them, rotating and scaling them, adding joints, and then testing whether the machine can complete the objective.
Budget is central here. User-owned solution objects are counted by the solution-cost system. Object type, subtype, texture price, scale, static or kinematic body type, and joint settings can all increase the final cost.
Use this type when the puzzle should be solved by construction: bridges, launchers, chain reactions, moving platforms, weighted mechanisms, motorized arms, or machines that the player must design under a budget limit.
The level is mostly authored in advance, and the player solves it by interacting with configured objects. Touch settings decide whether an object can be dragged, whether touch applies force or torque, whether a motor starts on touch, or whether touch activates destruction and trigger-zone logic.
Touch levels still use the same physics and object-game systems, but the important question is not what the player builds. The important question is which objects respond to direct input and what chain reaction that input starts.
Use this type for switches, timing puzzles, tap-to-release mechanisms, drag puzzles, touch-controlled hazards, and levels where a small number of meaningful player actions should start a larger machine.
The level becomes a platform-style challenge. One object can be marked as the main character, and other objects can be marked as platform ground so the character knows when jumping is allowed.
Platform Settings control the feel: can jump, continuous jump, secondary jump controls, jump force, second jump force, move force, air force, down jump, checkpoints, recreate-on-destroy, and what happens when the main character dies.
Use this type when the solution depends on character movement, timing jumps, collecting items, avoiding hazards, activating triggers from the character, and keeping the camera focused on the playable object.
Build mode
Build To Solve levels can limit how expensive the player's assembled machine is allowed to be.
The solution cost is calculated from user-owned objects placed for the solution. Each object starts with a price from its type, subtype, or texture, then scale changes increase the cost. Static and kinematic bodies can cost more because they are stronger building pieces.
Joints add their own cost on top of the object price. Motors, torque, speed, force, looped motors, pin-to-wall behavior, and distance-joint length can all make a machine more expensive.
The budget panel shows the current solution cost against the level budget. When the solution goes over budget, the cost is highlighted so the player can see that the machine needs to be simplified.
If the solution cost is greater than the level budget, the player must remove parts, reduce scale, simplify joints, or choose cheaper objects before the solution is accepted.
Object Settings Help
These settings decide how the selected object behaves as a physical body.
Dynamic bodies react to gravity and forces. Static bodies do not move. Kinematic bodies have infinite mass and are moved by velocity settings.
Increases or decreases object scale. Larger bodies also have more mass.
Higher density gives an object greater mass, making it harder to move.
Controls bounciness. Higher restitution is more elastic, lower restitution is less bouncy.
Controls how hard the object is to move or slide while touching another object.
Disables object rotation.
Sensor objects do not collide physically, but they still detect contact with other objects.
Hides the object from the visible scene.
For kinematic bodies, reverses velocity when the kinematic object collides with this object.
Multiplies force field strength so force values can be tuned more precisely.
Uses more precise collision calculation for the object. It is CPU intensive, so use it only where needed.
Selected object toolbar
When an object is selected, the bottom toolbar is rebuilt for that object. A normal object, color object, physics line, force field, jointed object, or selected group can expose different actions. Each row opens a dedicated page with a deeper explanation of that control.
The default settings button for most selected objects. It opens the physics/body settings for the selected object.

A generated tree and bush object with branch levels, bark texture, foliage layouts, whorls, and saved procedural data.
Appears when the object supports gameplay behavior. It opens object rules such as touch, trigger zone, chip, collect, platform, camera, filter, animation, gun, or propulsion settings.
Appears for color objects. It opens the main color-object editor for fill, stroke, alpha, labels, and visual state setup.
Opens the detail-layer settings for a color object, including overlays, texture/detail styling, and per-state visual detail configuration.
Appears in create mode when the selected color object has detail layers. It controls which color details are included, filtered, or edited for the current state.
Appears for objects that can move along an advanced path, especially kinematic non-scene objects. It opens path speed, loop, reverse, wait, rotation, activation, and path-completion trigger options.
Shows the joint list for the selected object. From here the player can add revolute, prismatic, distance, weld, or rope style connections.
Appears when the selected object has a configurable joint. It exposes motor, limits, loop, pin-to-wall, frequency, and damping settings.
When a physics line or one of its points is selected, the toolbar switches to line-editing actions for points, segments, curves, and line skins.
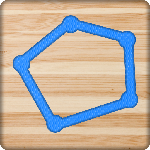
Enables or disables bezier behavior for the selected physics-line edit point, allowing curved line segments instead of only straight segments.
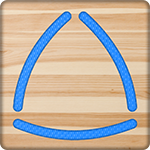
Controls segment-level editing on physics lines, useful when a single line needs different movement, material, or curve behavior per segment.

Removes the currently selected physics-line edit point without deleting the entire line object.

Force-field objects expose direction controls so the field can push, pull, or apply custom directional behavior to bodies inside it.
When several objects are selected, the toolbar focuses on group operations, copying properties, moving, deleting, and other actions that apply to the current selection.
Creator guide
Dedicated guides for the character, vehicle, artwork and world systems available alongside the original puzzle tools.

Characters & vehicles
Create an articulated physics character, dress it in one of 15 skins, choose weapons and shields, set its pose, and configure balance, walking and independent hand controls.
Explore the guideCharacters & vehicles
Create a four-legged physics character with separate front and rear leg chains, a neck, head and articulated tail.
Explore the guide
Characters & vehicles
Build motor vehicles and light vehicles, choose which wheels receive power, and tune wheels, appearance, input and suspension.
Explore the guide
Art & effects
Create your own artwork for a level with 78 brush types, painting and smudging tools, gradient fills, editable vector lines, textures, stamps and a layered canvas.
Explore the guide
Art & effects
Design your own particle effects inside the game, including their graphics, emission, movement, colour, size and fading. Save them in Particles and use them in your own level as placed effects or object events.
Explore the guideWorld & physics
Choose material textures for supported shapes and tune the inner body and outer spikes of composite objects independently.
Explore the guide
World & physics
Guide objects through transparent passages built from glass tube pieces or configurable procedural tubes.
Explore the guide
Editor workflows
Review recorded edits, undo a change or jump to an earlier state. Level edits, line-point edits and drawing edits have their own histories.
Explore the guideWorld & physics
Organize foreground and background art, control visibility and editing locks, and make scene layers move with the camera to create depth.
Explore the guide
Art & effects
Combine a visual destruction effect with real physics fragments that carry pieces of the destroyed object's artwork.
Explore the guideWorld & physics
Move eligible objects to a connected teleport destination and decide how mass, connected bodies, momentum, damage and animation are handled.
Explore the guideWorld & physics
Create a water object with flow and drag, then tune the visual surface response to impacts.
Explore the guide
World & physics
Tune the body behind an object, use a simpler collider where appropriate, and configure collision, render and joint groups separately.
Explore the guide
Art & effects
Configure procedural rainbow shapes and branching electricity with their own geometry, textures, animation and glow.
Explore the guideObject Game Settings menu
Each row opens a dedicated page with a deeper explanation of how that Object Game Settings group works.
Builder Settings define how an object participates in Build To Solve levels and player-created machines. Open the detailed guide.

Touch Settings control what happens when the player taps, drags, or directly interacts with an object. Open the detailed guide.
Physics Properties Settings expose gameplay-facing physics modifiers for selected objects. Open the detailed guide.
Connection Settings control how the selected object can connect to joints, chips, and other machine systems. Open the detailed guide.

Trigger Zone settings turn an object into an event area or event controller that can start other gameplay changes. Open the detailed guide.

Chip settings make an object process values and events, then send the result to other objects or systems. Open the detailed guide.

Collect Settings define collectible objects, collectors, stars, and point rewards. Open the detailed guide.

Deactivation Settings control whether an object starts inactive, becomes active later, or is disabled by gameplay. Open the detailed guide.
Clone Object Settings define how an object can create copies or spawned versions during the level. Open the detailed guide.
Follow Object Settings make one object track another object, including smart-follow style behavior. Open the detailed guide.

Laser Object Settings configure beam-like object behavior, contact rules, filtering, and damage-style interactions. Open the detailed guide.

Shape Shifter settings transform the physical properties of another object when contact or configured gameplay conditions happen. Open the detailed guide.
Destruction Settings define damage, object breaking, destroy-on-contact rules, and fail or score consequences. Open the detailed guide.
Bomb Settings configure explosive or particle-based destruction behavior and which objects can be affected by it. Open the detailed guide.

Time Settings control delayed creation, repeated intervals, restore delays, and other time-based object behavior. Open the detailed guide.
Platform Settings configure platform-level behavior such as main character, ground, jump, and left-right movement. Open the detailed guide.
Camera Settings decide when the game camera should follow an object or focus on important movement. Open the detailed guide.

Filter Settings control alpha, blend modes, color treatment, glow, blur, shadows and stylized rendering effects. Open the detailed guide.
Position Settings configure object placement, movement-related references, offsets, and directional behavior. Open the detailed guide.
Animation Settings control visual state, frame changes, movie behavior, and gameplay-driven appearance updates. Open the detailed guide.
Scene Settings handle decorative or environment objects that belong to the level scene rather than the player-built machine. Open the detailed guide.
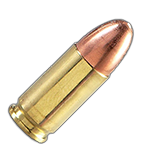
Gun And Bullet Settings let any configured physics object fire another preview object as a projectile. Open the detailed guide.
Propulsion Settings configure thrust-like behavior for objects that push themselves or emit movement force during play. Open the detailed guide.
Object Controls Help
These are the main editor and play controls shown with the original iPadRetina icon assets copied into the site.
Centers the game scene scale and position.
Shows the level objective and explains what must be done to complete the level.
Locks all scene objects so they cannot be selected or moved by accident while zooming or dragging the scene.
Returns to level create mode.
Configures object physics properties such as scale, density, restitution, friction, sensors, and precision.
Configures game behavior such as target, goal, interactivity, destruction, collecting, damage, and creation rules.
Opens the joint list dialog where you can add or remove an object joint.
Configures joint properties. Different joint types expose different settings, and this control is disabled when the object has no joint.
Duplicates the selected object with all properties and places it to the left.
Duplicates the selected object with all properties and places it above.
Duplicates the selected object with all properties and places it to the right.
Duplicates the selected object with all properties and places it below.
Shows precise movement controls for positioning an object on the scene.
Rotates the selected object 45 degrees to the right.

Rotates the selected object 45 degrees to the left.

Sets object rotation back to 0.

Locks or unlocks horizontal dragging. When horizontal drag is locked, the object can only be dragged vertically.
Locks or unlocks vertical dragging. When vertical drag is locked, the object can only be dragged horizontally.

Increases the scale of the selected object.

Decreases the scale of the selected object.

Resets object scale to 1.

Selects the previous object in the scene.
Selects the next object in the scene.
Removes the selected object from the scene.
Object Game Settings Help
These settings turn physical objects into targets, goals, collectibles, hazards, characters, timed objects, or gameplay devices.
Sets target or goal behavior. Targets must collide with accepted goals to complete a level.
Names an object so it is easier to identify inside the editor.
Selects which target objects a goal accepts. Multiple targets can be accepted.
Delays object creation after the level starts by the chosen number of milliseconds.
Hides the preview object in solve mode before the level starts.
Allows the object to be grabbed and dragged after the level starts.
Makes the camera follow the object when it moves.
Starts the object's motor when the object is touched.
Destroys the object when it is touched.
Sets how many points the player receives when the object is destroyed.
Enables staged object damage. There are two damage stages, and support depends on object type.
Sets how much damage an object can receive before being destroyed.
Sets the object's damage value when the level starts.
Sets the minimum contact force required to damage the object.
Makes the object collectible by another object that can collect.
Allows the object to collect stars and other collectible items.
Makes the object count as a star when collected. A level can use up to three star collectibles.
Sets the points awarded when the object is collected.
Fails the level when this object is destroyed.
Sets the minimum impact force required for contact sound effects.
Makes the object count as ground for platform levels, enabling jumps only while the character touches it.
Marks the selected object as the main character for platform levels.
Sets the force applied when the main character jumps.
Sets the movement force applied when the character moves left or right.
Automatically creates the object repeatedly while the level is running.
Sets the delay between automatic object creation events.
Disables the static skin of the selected object.
Allows bomb particles to destroy this object.
Destroys other objects that collide with this body.
Prevents this object from being destroyed by objects configured to destroy others on contact.
Allows a distance joint to be connected to this object.
Allows a weld joint to be connected to this object.
Object Joint Help
Joints connect objects or constrain movement, making rotating arms, sliding platforms, pendulums, locked mechanisms, and moving machines possible.

The object rotates around its center.

The object rotates around its top tip.

The object rotates around its bottom.

The object rotates around its left side.

The object rotates around its right side.

The object is constrained so it can move up and down.

The object is constrained so it can move left and right.

Sets a custom translation angle instead of only horizontal or vertical movement.
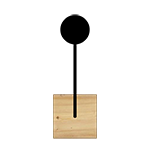
Connects two objects so they do not separate, while each object can still rotate around its own center.
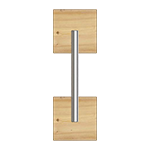
Connects two objects so they do not separate and cannot rotate independently around their centers.
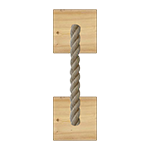
Creates a rope-like constraint that keeps connected bodies within a maximum distance.
Editor reference
The strongest Ancient Machines levels usually come from combinations: a trigger starts a moving platform, a chip changes a motor speed, a shape shifter alters object mass, or a gun fires a custom bullet.